Printer Driver Does Not Install Properly When a USB Cable Is Plugged into for Windows 10 PC
If you are unable to install the printer driver on your Windows computer, then use the different methods shared in this article to fix this issue.
When you plug in a USB cord to many devices, like mice and laptops, the PC will automatically install drivers. This kind of automatic installation doesn’t work with most printers, though. Also, if you plug in a printer without first running its drivers, the computer might not recognize the right drivers later on. You might have to get rid of the broken software before you can get your office printer back up and running.
As soon as you connect a USB cord to a PC, Windows will look through its driver files to try to install the device. The installation works if it finds a driver that matches. There are, however, many printers for which Windows does not come with the right drivers. In these situations, the software will fail, and the printer will not work. To get rid of this issue, try to implement the different methods shared in this article.
Ways to Fix Printer Corrupted Drivers On Windows 10 PC
Here are some of the most effective and efficient ways that you can use to solve the driver issue with your printer.
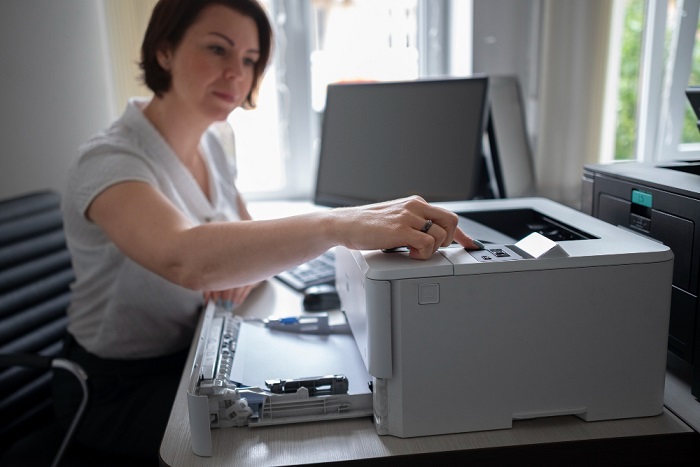
Method1: Check Printer Cables and Ports
If the cable isn’t good, the printer can stop talking to the computer. Verify that the printer’s power cord and any other cables are properly attached. If the printer is getting power and the communication cord is attached correctly but the PC is still not recognizing it, try connecting it to a different USB port on the computer. It might be possible that your USB 3.0 Driver for Windows 10 is also corrupted. Therefore, try uninstalling the USB driver as well.
Method2: Disable Printer Driver
Windows operating systems are packed with a plethora of tools and features designed to enhance the user experience. Any component-related issue, unwanted software removal, driver updates, etc., may be addressed with the help of these tools. One such tool that helps keep the device drivers under control is the Device Manager. Disabling the printer driver is also possible with this tool. Consequently, to uninstall the printer driver from your computer, these are the procedures to follow in the Device Manager.
Step1: Navigate to the Control Panel by clicking on the Start menu.
Step2: Locate the menu in the upper right corner of the window and, using the context menu, choose the Large Icons option.
Step3: The next step is to locate Device Manager and then click on it.
Step4: A window displaying all of your computer’s hardware drivers will pop up. Find the area labeled “Print Queues” and choose it.
Step5: Next, choose the Properties option from the list that appears when you right-click on the printer model you are now using.
Step6: When a new properties window opens, click the Drivers tab in the top navigation.
Step7: The next step in turning off your Windows printer is to click the Disable Device option.
Step8: A confirmation dialog box will pop up; to continue, click the Yes button.
Method3: Uninstall The Printer
As we’ve already established, the Device Manager is a useful tool for managing your computer’s drivers. Now you may remove the printer driver from your Windows device by using. The steps are rather simple, so just follow them to complete the procedure.
Step1: Navigate to the Control Panel by clicking on the Start menu.
Step2: Locate the menu in the upper right corner of the window and, using the context menu, choose the Large Icons option.
Step3: The next step is to locate Device Manager and then click on it.
Step4: A window displaying all of your computer’s hardware drivers will pop up. Find the area labeled “Print Queues” and choose it.
Step5: The next step is to access the printer driver’s properties by right-clicking on it and selecting Properties from the menu that appears.
Step6: When a new properties window opens, click the Drivers tab in the top navigation.
Step7: To uninstall the printer driver from your Windows device, follow these steps.
Summing Up the Methods to Fix the Corrupted Printer Drivers Issue On Windows Computer
We talked about three different but very effective ways to fix a broken printer driver on a Windows 10 or 11 computer. For extra help, you could call the printer maker’s support team if nothing else works. They might be able to help you find more complicated options that work with your printer. Send us your thoughts in the box below. We look forward to hearing from you.

